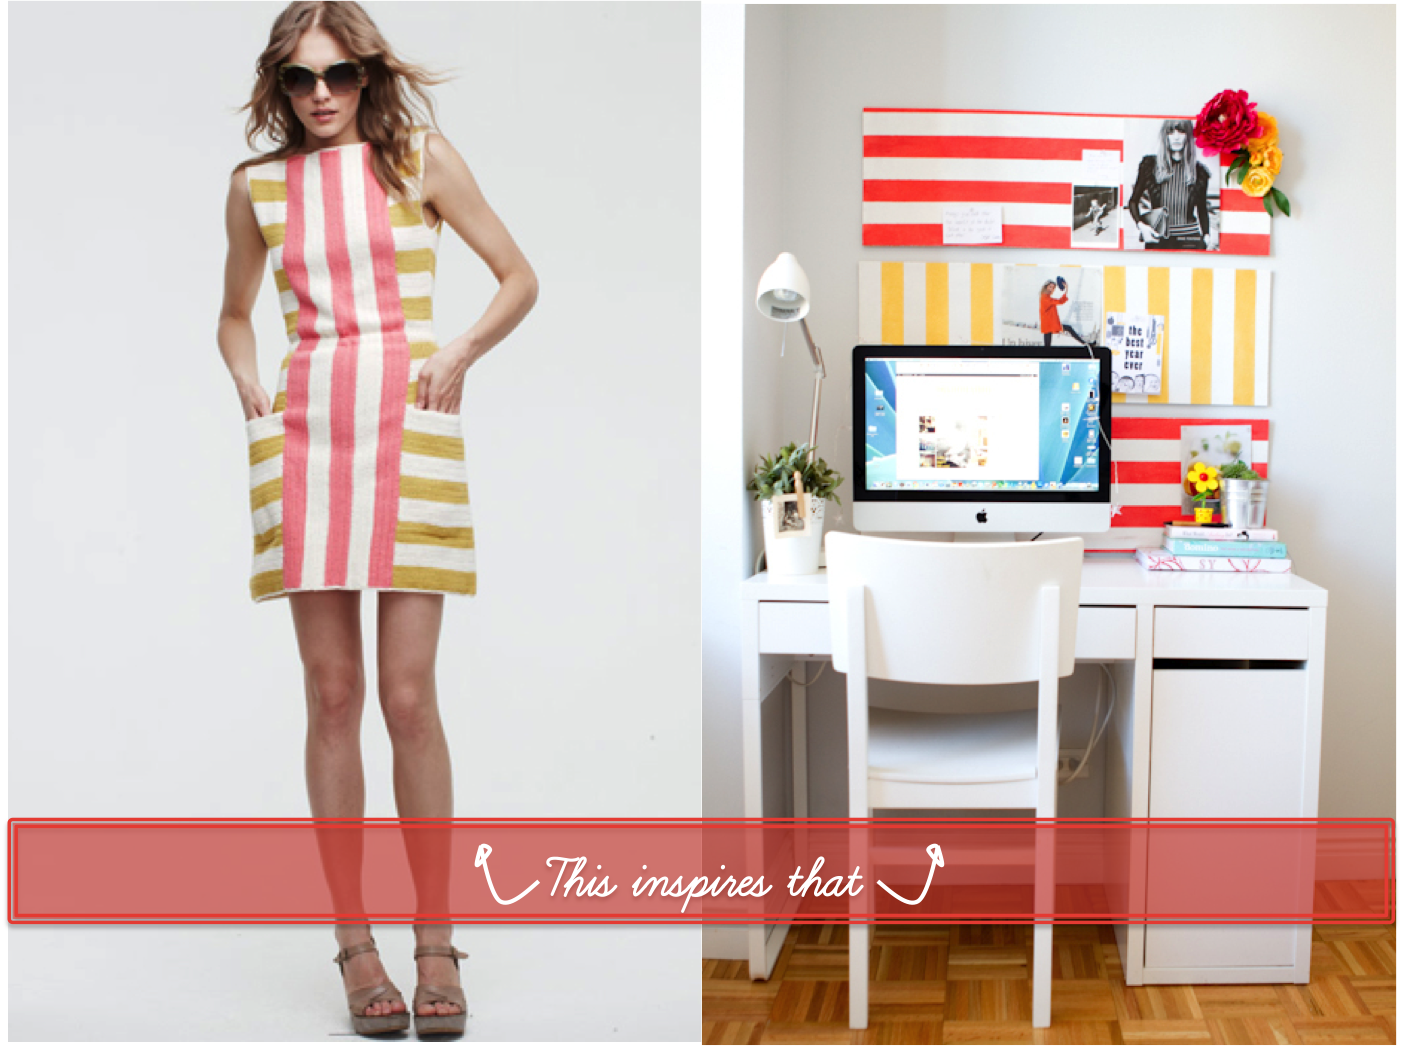
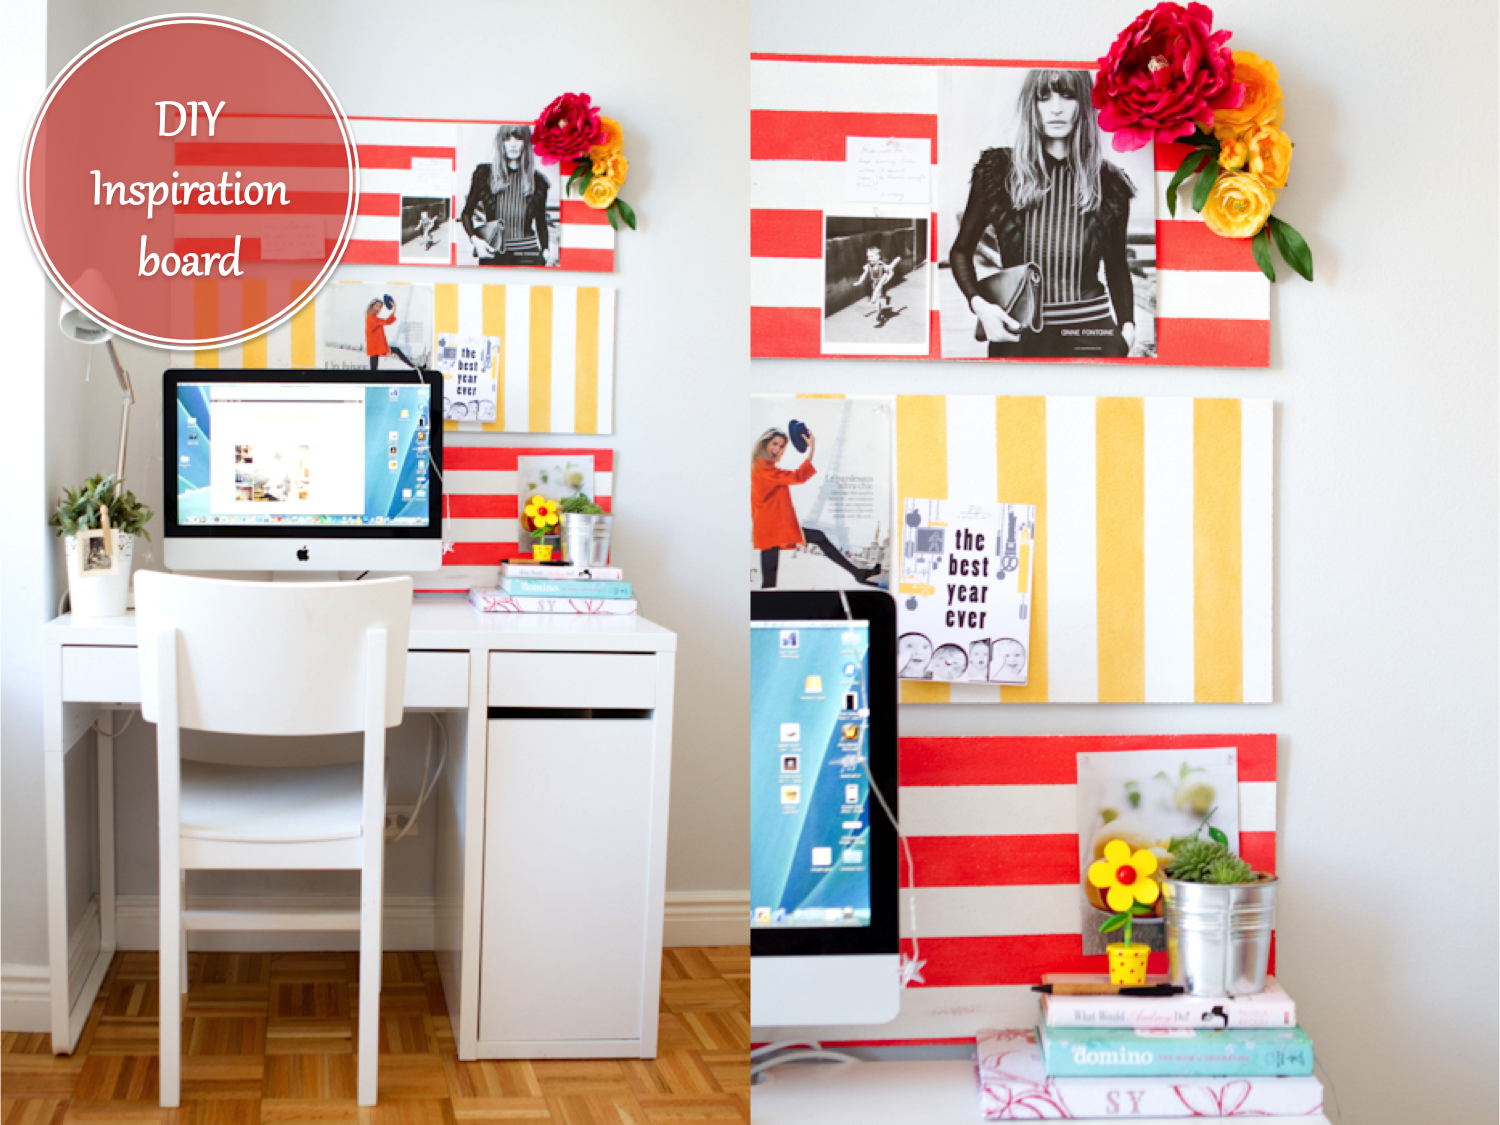
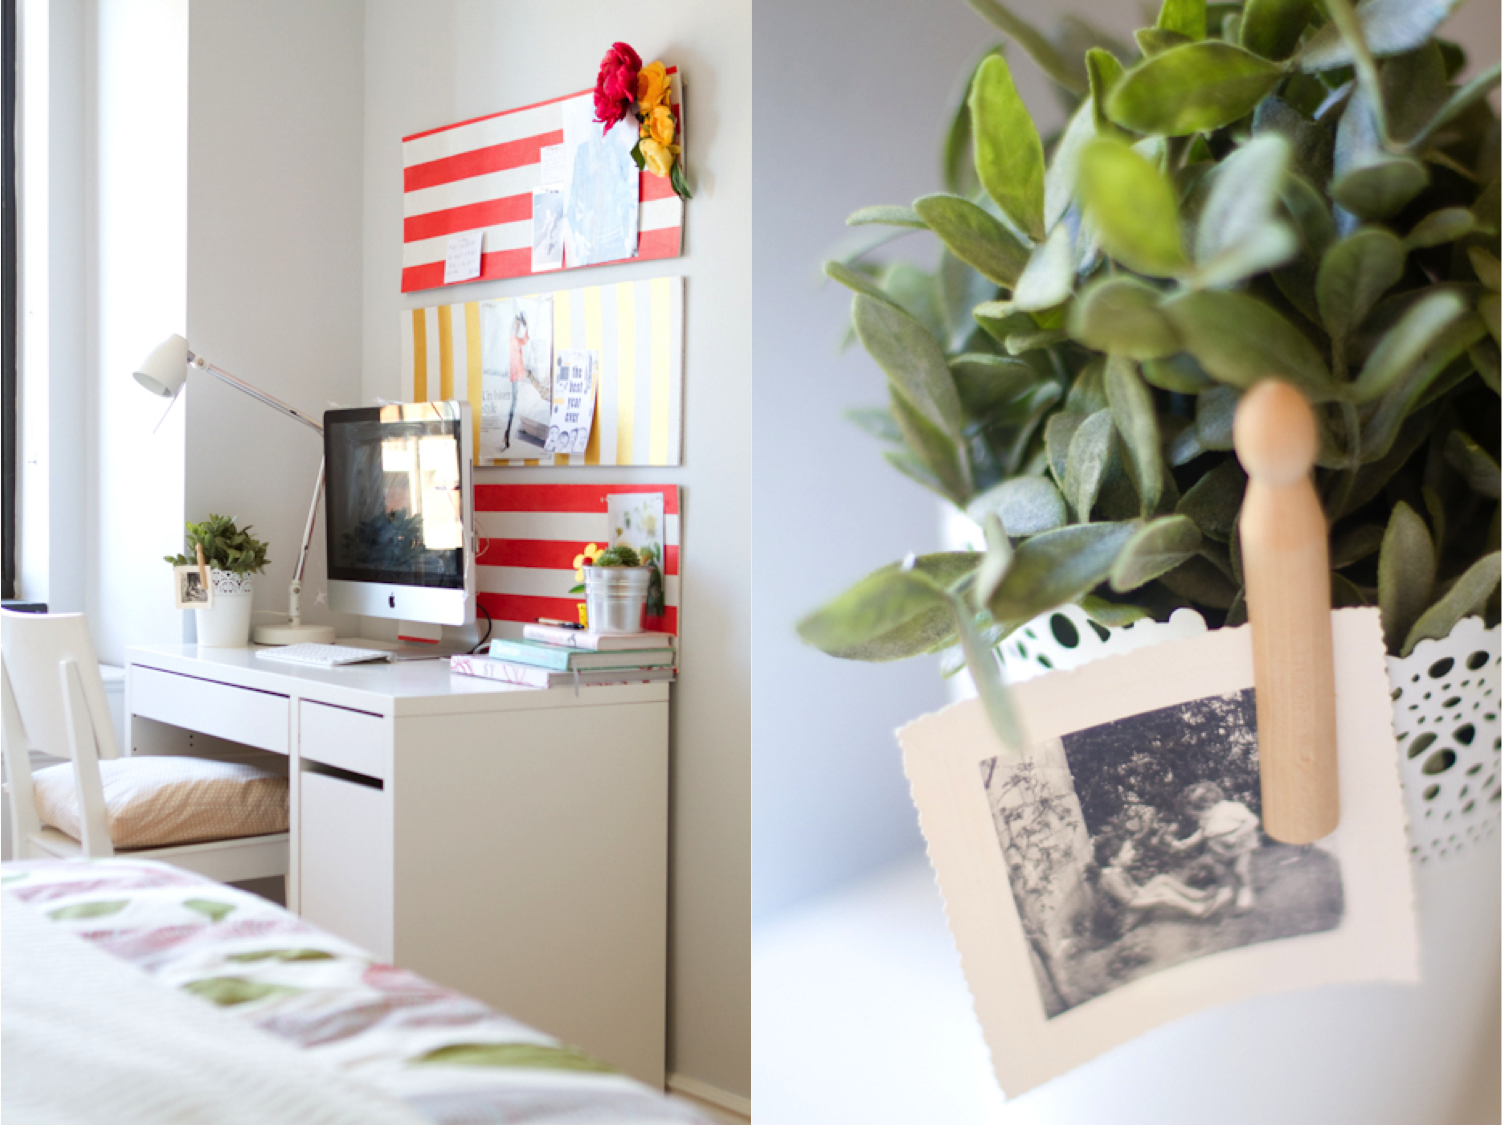
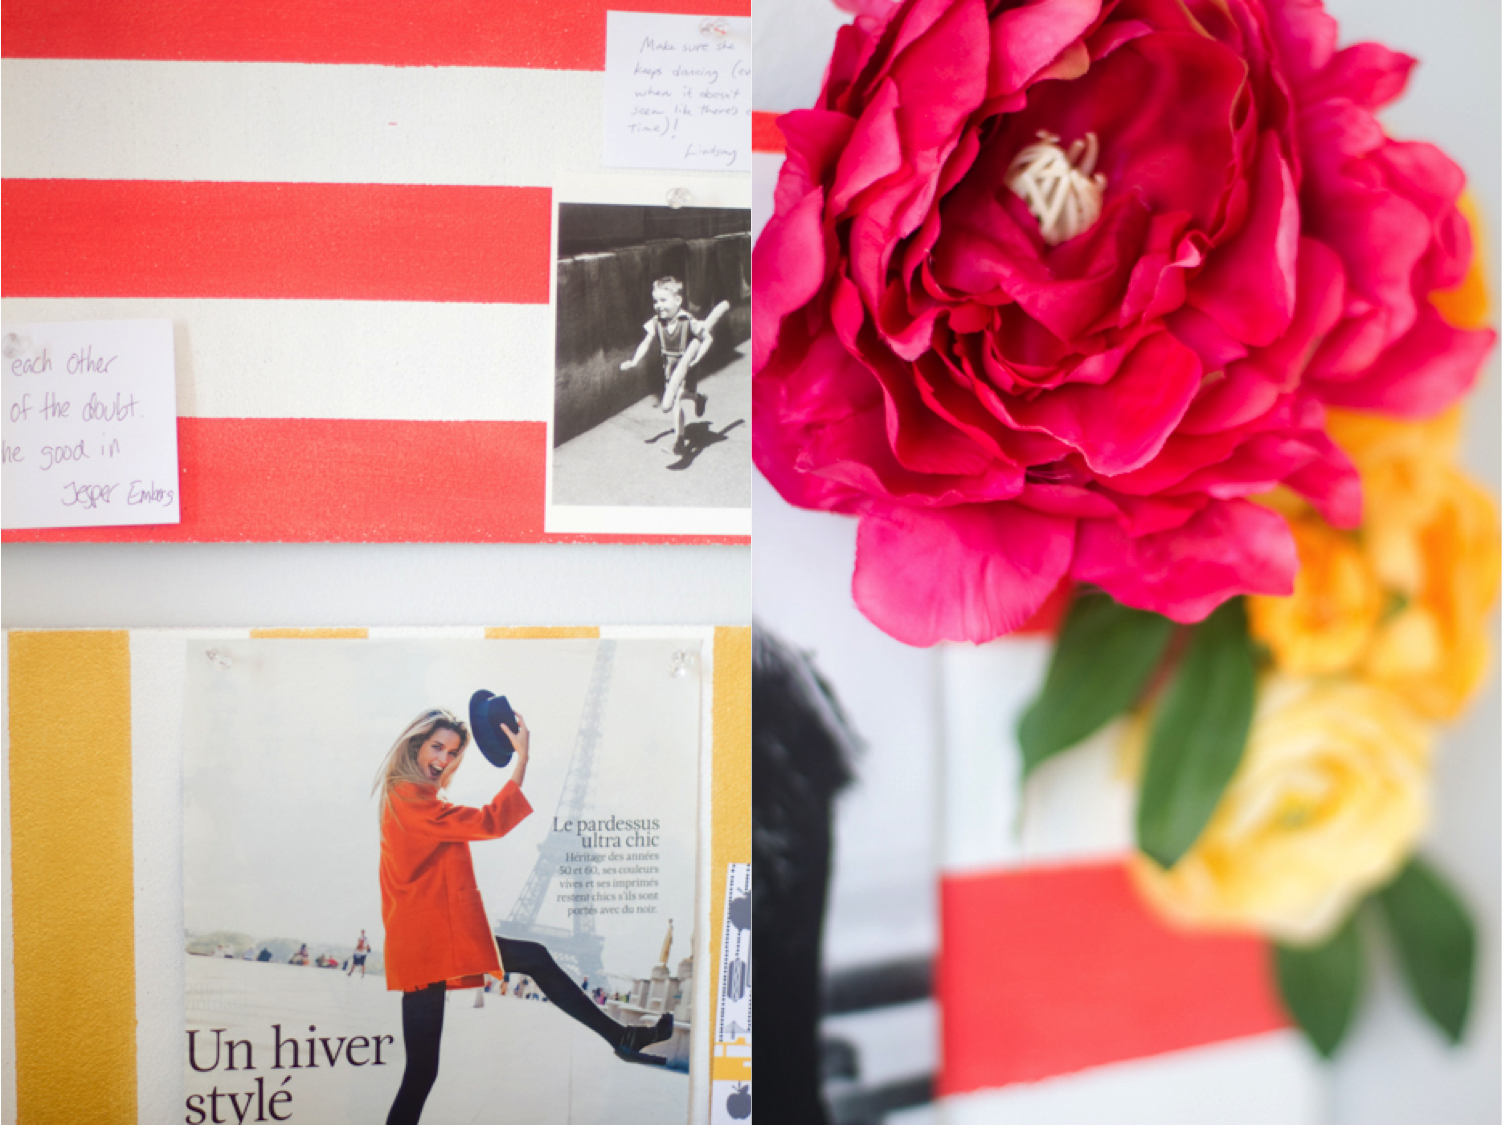
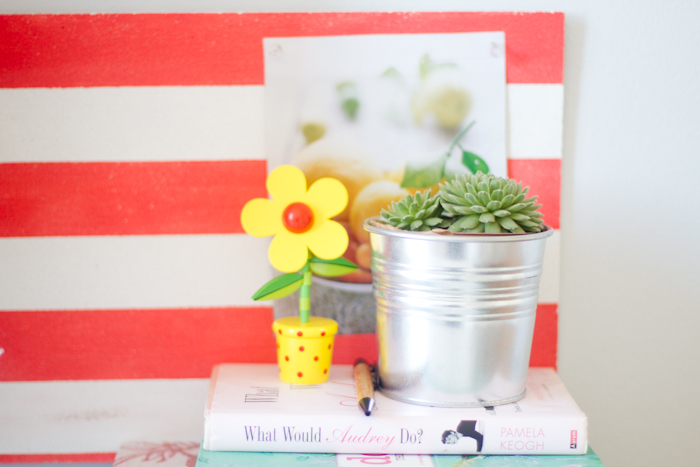
Our New York apartment is small. Like, REALLY small. We love it, but we had to think creatively about how to best use the space we have. Our “office” ended up in our bedroom, even though we don’t like having screens in there. Now, I’d always wanted to add an inspiration board behind my computer- don’t get me wrong, I’m addicted to pinterest, but I also need a board that I can look up to while working. I just wasn’t hot on the idea of having a plain cork board in the room…but a pimped one?! Heck yeah, that’s more like it. The minute I saw the Lauren Moffat spring collection, I knew I had my inspiration – I am so in love with this collection. I toned the colors up a bit so it would match our room better, added a few flowers to soften the stripes a bit…et voila!
The details on how I made my inspiration board are at the end of this post. Now I know the neon hues aren’t going to work for every home, but you can easily adapt this project to fit your home by picking different colors.
That being said, my dear readers, I’d love to throw a little challenge to you all out there. Find an image, an object, something that really inspires you (maybe because of the colors, or the pattern or the shape of it), and use that to create something of your own. Let your imagination run wild! And if you come up with something you’re proud of, make sure to send some pics to audrey@thislittlestreet.com
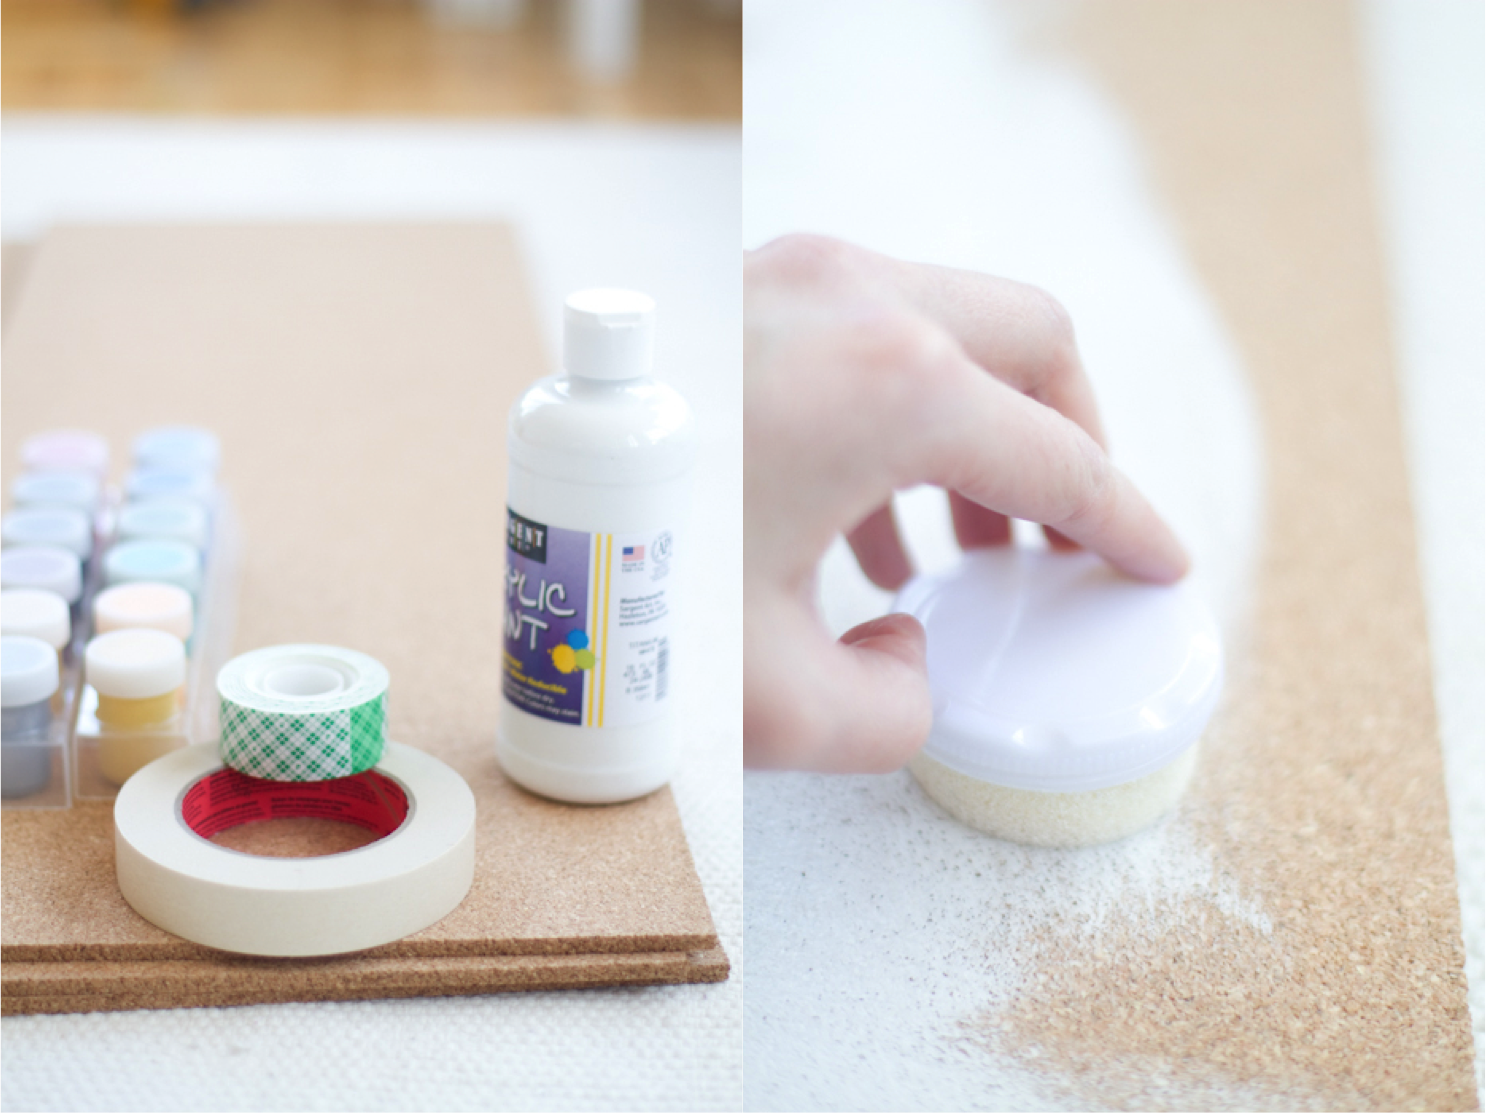
What you need:
– cork boards
– acrylic paint in white, gold and orange.
– masking tape
– mounting tape
(PS: I am only providing the links to make it easier for you guys to find what I bought. I won’t be making any money off anything you might purchase at these retailers).
Steps to follow:
1) Paint your board in white. Let dry. Paint again and let dry. Repeat until you are happy with the result (for me, it took three coats). The edges aren’t the easiest part, but you will probably only need one coat on the edges.
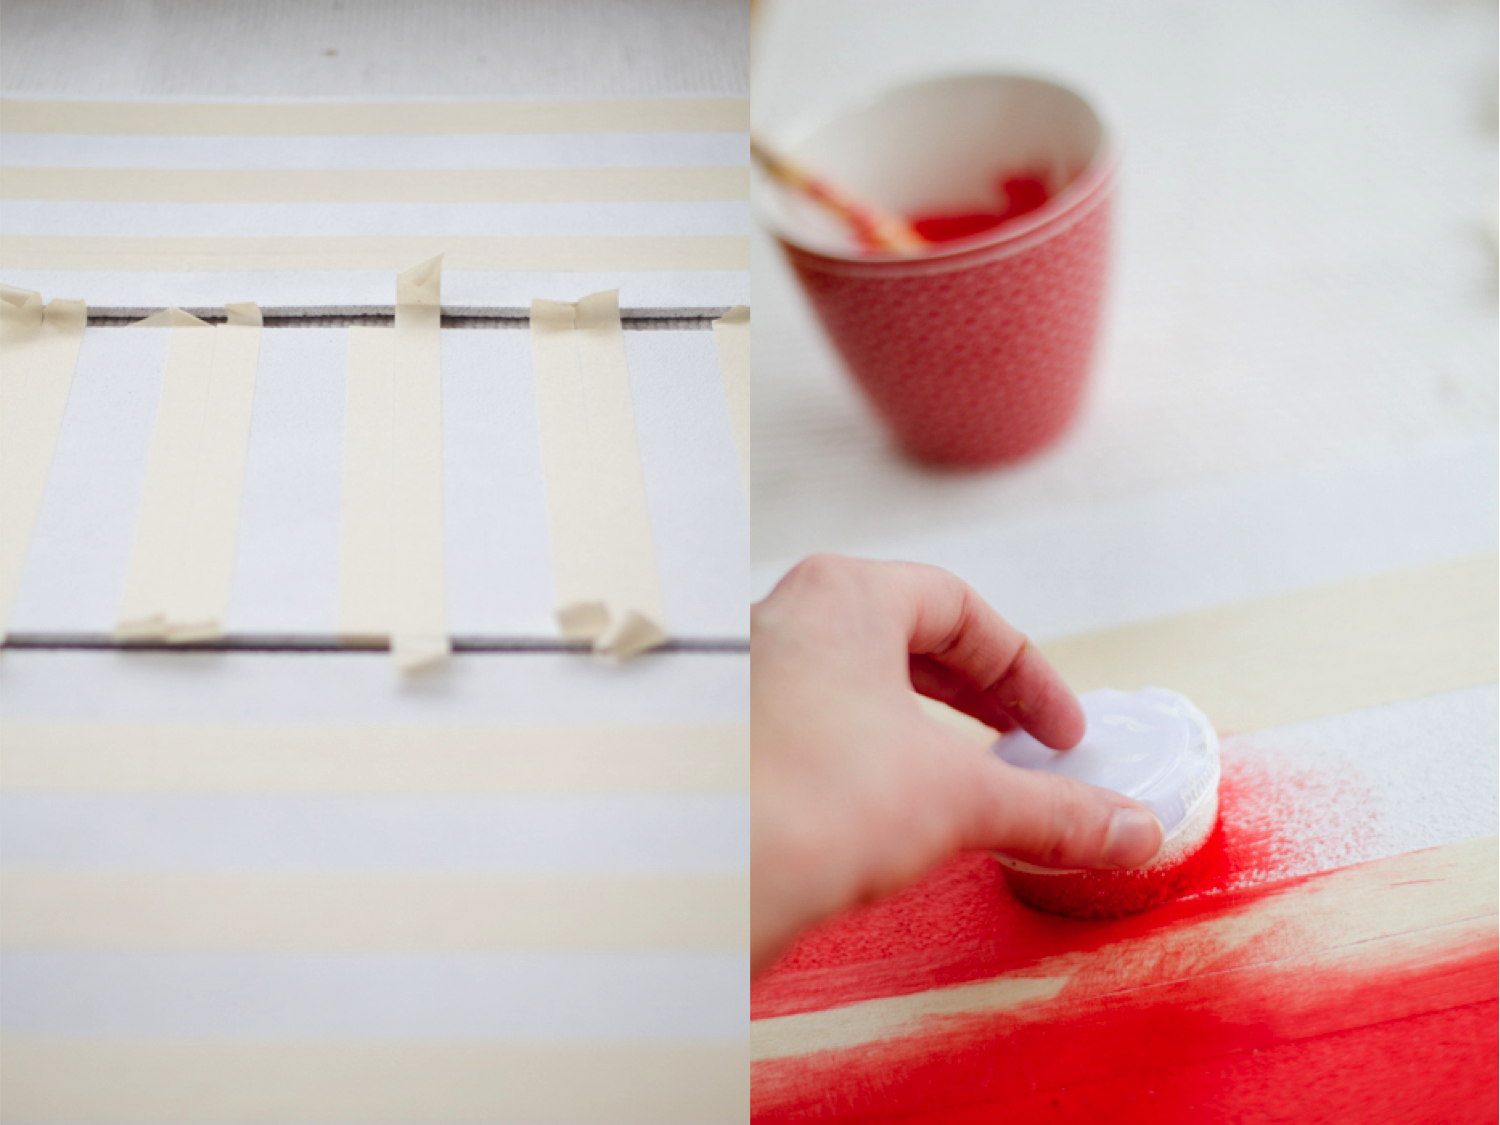
2) Apply masking tape to create stripes, vertically on one board and horizontally on two. My masking tape wasn’t wide enough for the type of stripes I wanted to make, and I had to work around that, but for you guys I linked to the right masking tape in the supply list, so you shouldn’t have to worry about that.
2) Paint the uncovered parts – with gold paint on the vertically-tripped board and with orange paint on the horizontal ones. Let dry.
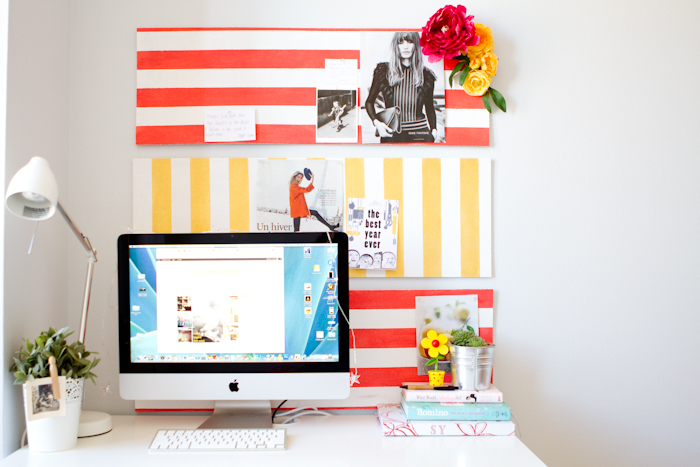
3) Apply mounting tape on the back of each board close to the edges. Note: At first I used regular mounting tape, but it wasn’t strong enough for the boards, so I upgraded to something stronger.
4) Set the boards up on your wall.
5) You’re done.
6) Start putting up pretty images and get creative!
Original article and pictures take thislittlestreet.com site
Комментариев нет:
Отправить комментарий