
(Sorry for the bad quality of the photos. It turns dark really fast this time of year! /// Ursäkta de dåliga bilderna. Blir ju mörkt så fort!)
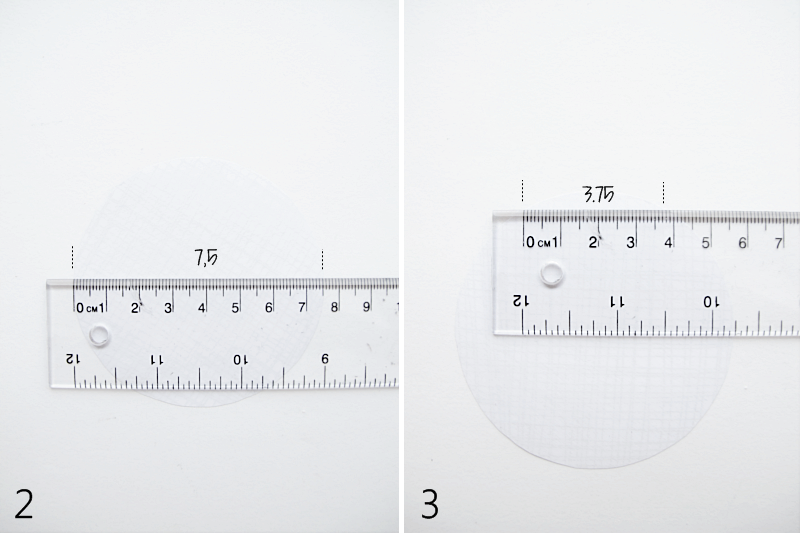
3. Divide the diameter in half, for me that is 3,75cm, and make a little dot every 3.75cm around the circles perimeter. /// Ta halva diameterns mått, för mig blir det 3,75cm och gör små prickar utefter cirkelns ytterkant med ett avstånd av 3,75cm.
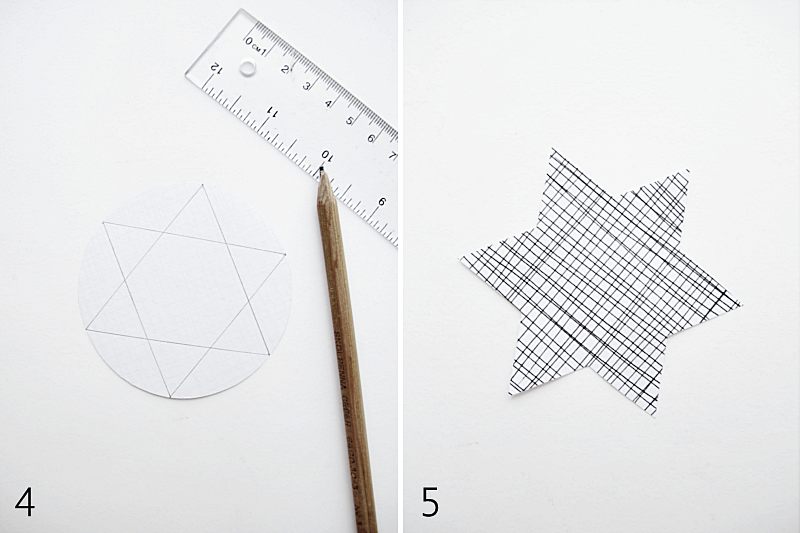
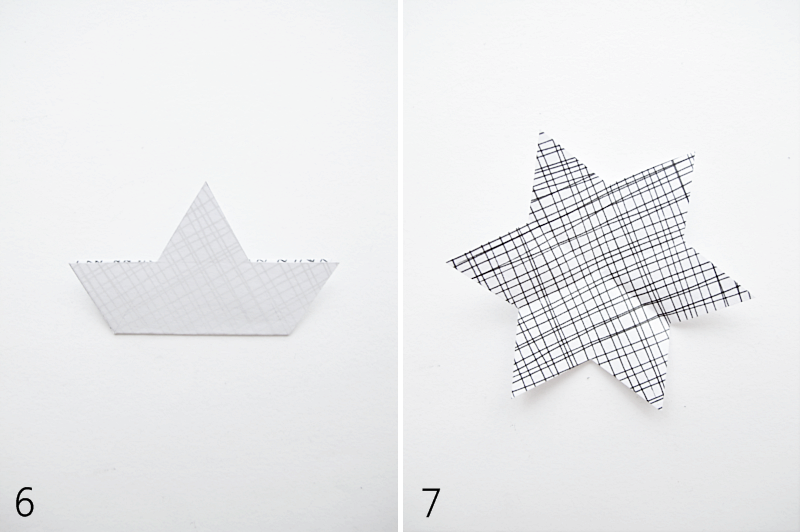
5. Then cut it out. /// Klipp sedan ut stjärnan.
Nu ska du vika stjärnan. Var noga med att vika den som bilden visar. Alltså där stjärnan är som smalast. Vik tre gånger.
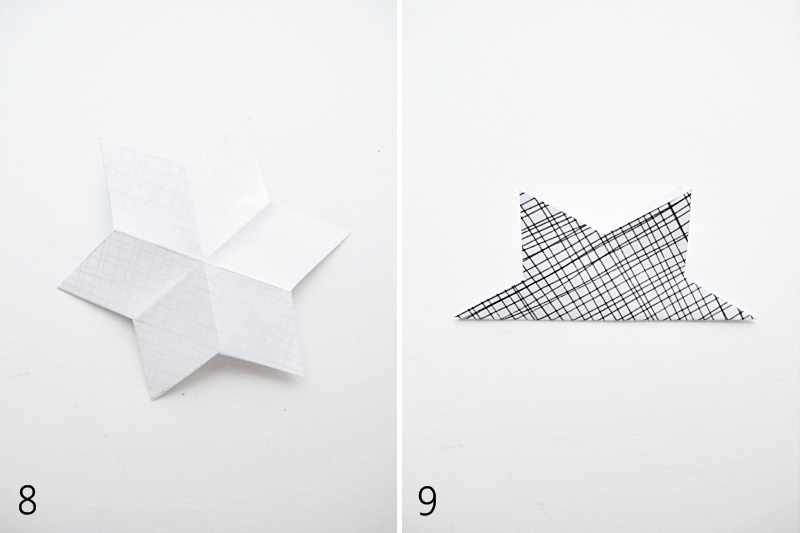
9. And fold it again. This time were the star is the widest. Fold three times. /// Vik stjärnan igen. Denna gång där stjärnan är som vidast. Vik tre gånger.
Original article and pictures take designoform.com site
Комментариев нет:
Отправить комментарий