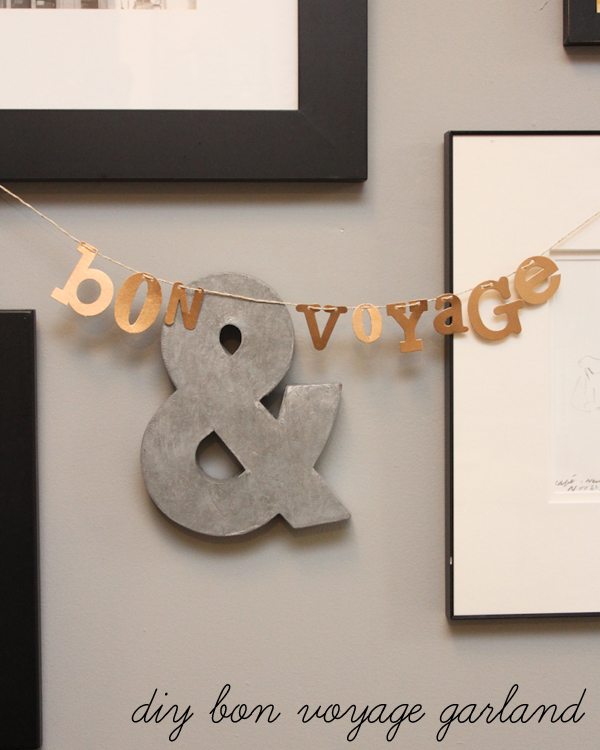
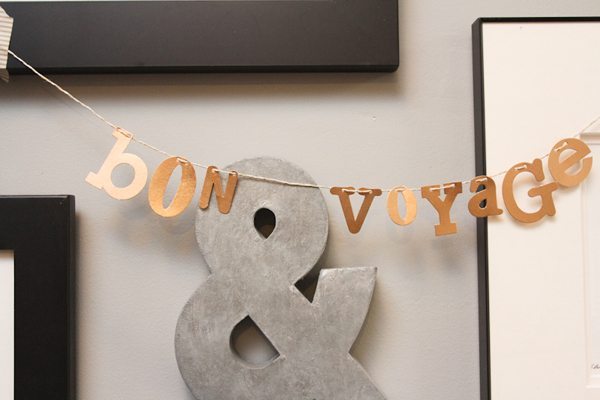
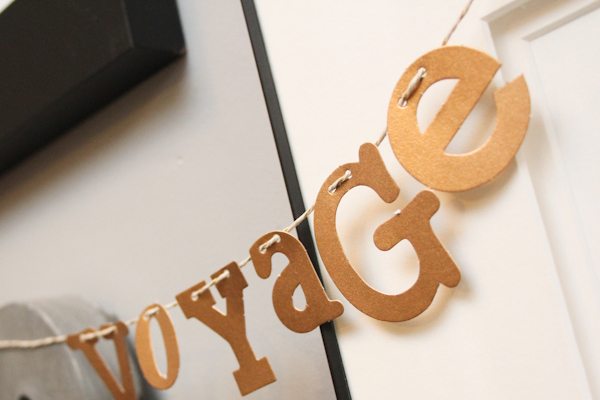
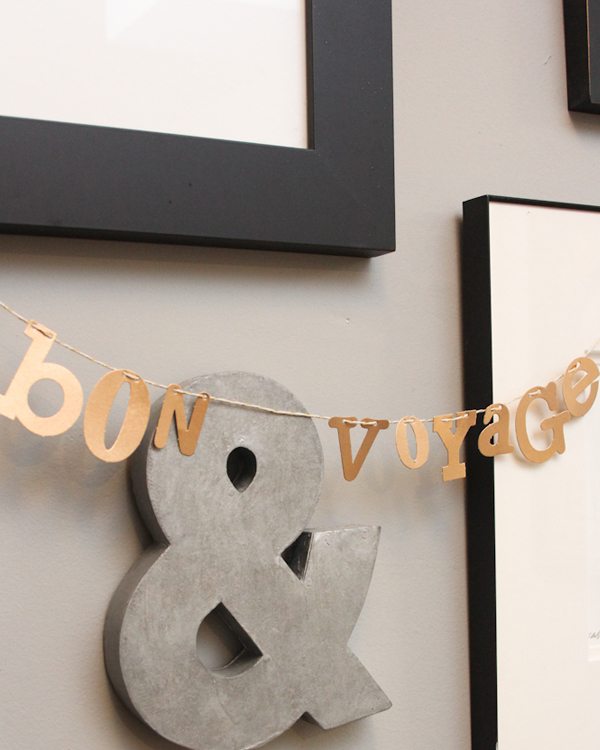
Friends, I’ve had the absolute best time being a contributor here for Cyd and The Sweetest Occasion, but the time has come for me to move along! This will be my last DIY post here, and so what better way to celebrate than with a sweet little “Bon Voyage” garland?
Supplies –
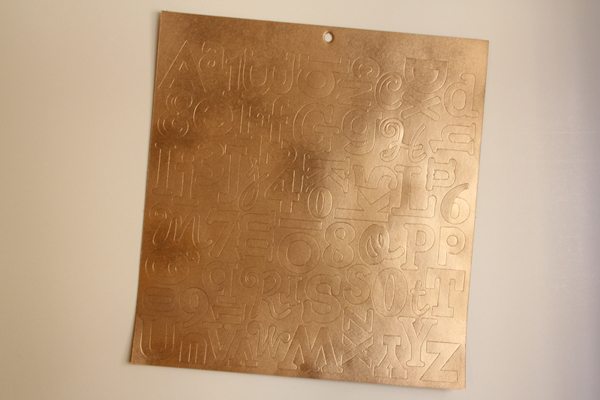
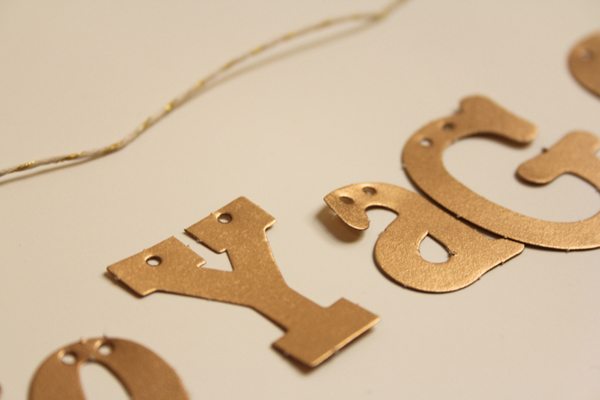
- alpha punch-out letters (like these)
- gold spray paint
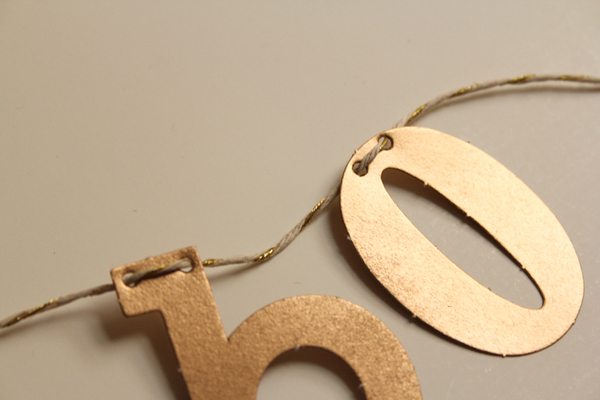
- baker’s twine
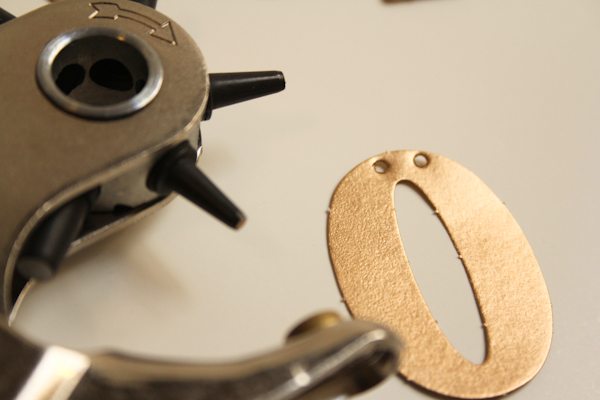
- tiny hole punch
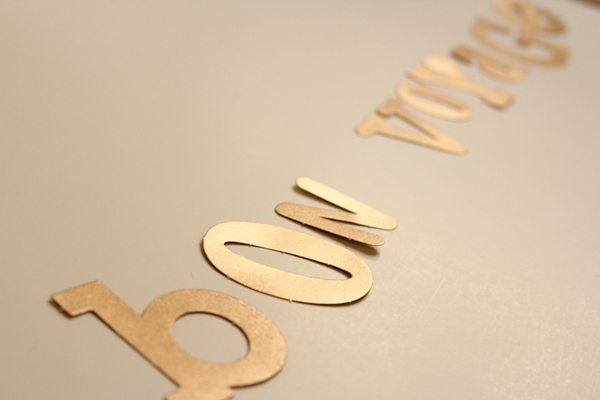
First, I really wanted the letters to be gold, so I just spray painted my sheet of letters before I punched any out. I spray painted both sides so that the garland would be cute both front and back. You can definitely choose to keep the original paper color!
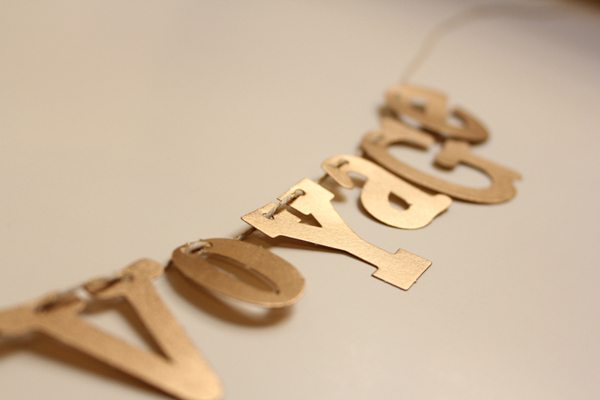
Arrange your letters neatly and celebrate! This would be so sweet tied to a couple of bamboo skewers and used as a cake topper at a going away party! Also perfect for a bride and groom about to escape to their honeymoon. However you use it, do so in good health. And a heartfelt thank you for having me here on The Sweetest Occasion for the last year and a half – it’s been such a joy. Bon Voyage! xoxo
Editor’s note: While today is Chelsea’s final post for The Sweetest Occasion, she and her husband are setting off on all new adventures! Be sure to join her at Lovely Indeed for loads of inspiration, DIY ideas and a little glimpse at where life is taking her next. Hint: It involves a cross-country move and a whole lot of pretty. You’ll be missed, Chelsea! xoxoxo
Original article and pictures take thesweetestoccasion.com site
Комментариев нет:
Отправить комментарий