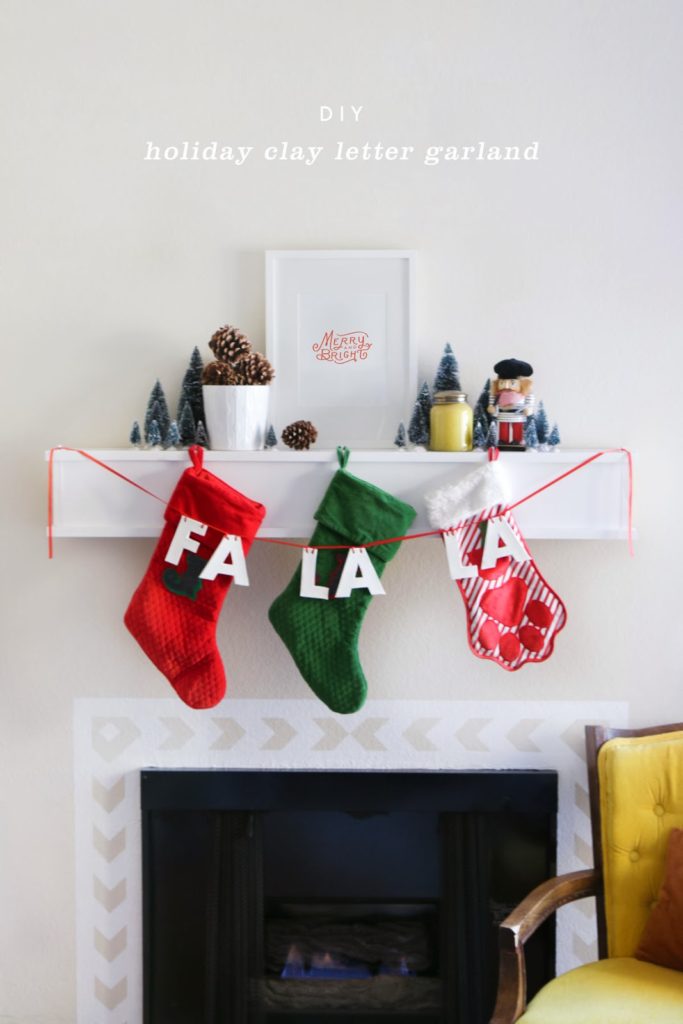
Last year I made monogram clay ornaments and gift tags. They were so fun to make and the clay was so easy to work with that I wanted to do something else with it again this year. I decided on this holiday letter garland.
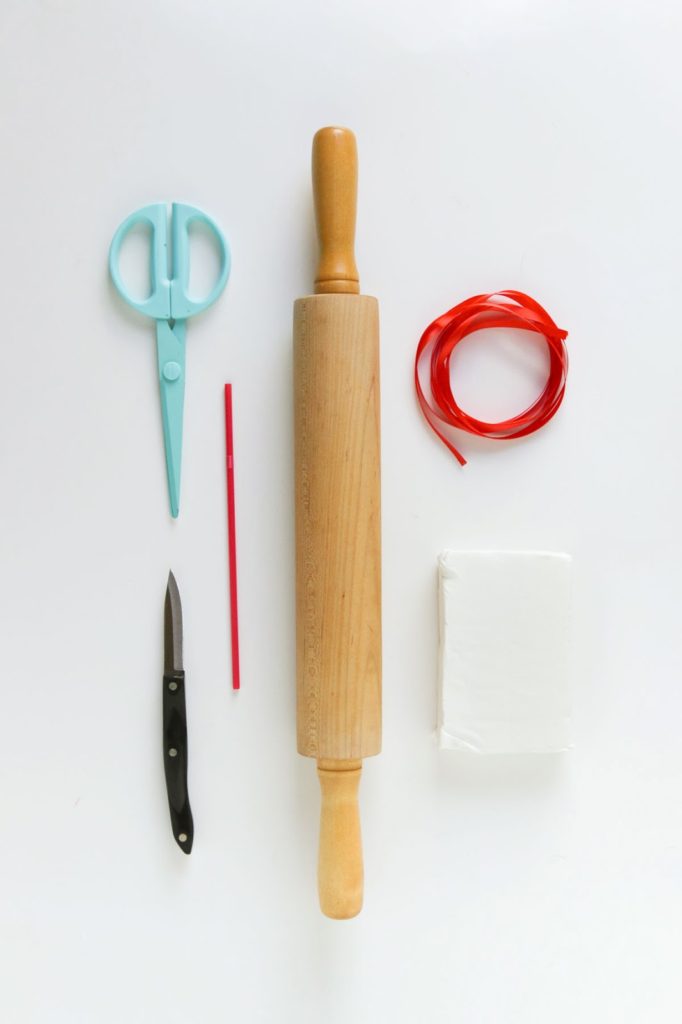
- Rolling pin
- Scissors
- Knife
- Straw
- Ribbon
- Letters (download here)

STEP 1: Cut out each of the letters.
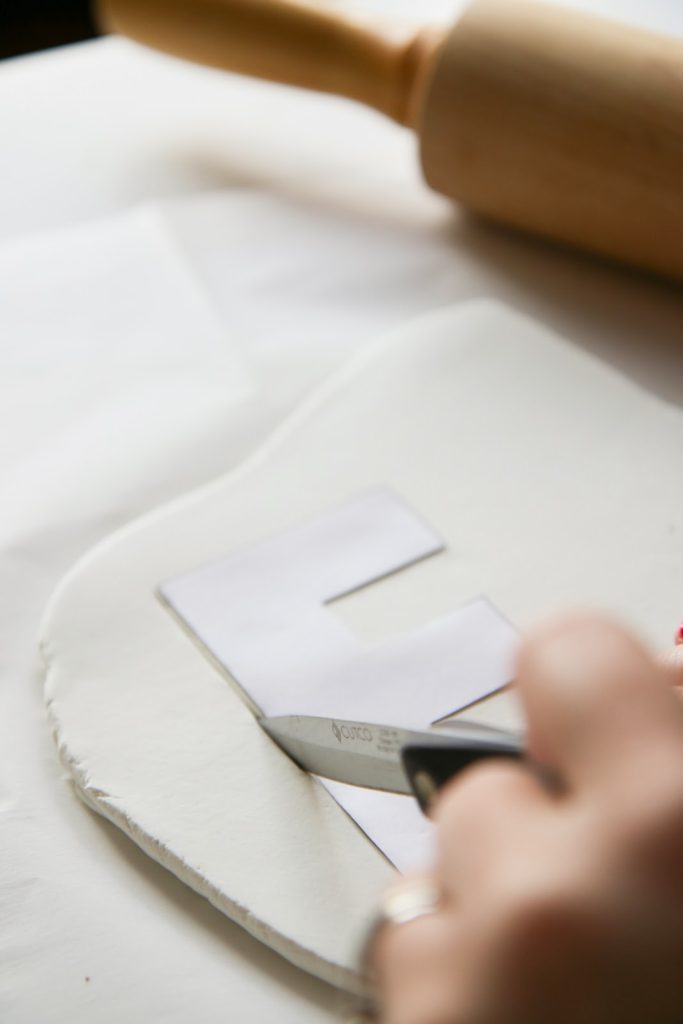
STEP 2: Roll out the clay until it is about 1/2″ thick. Then place your paper letter on the clay and cut around the paper with the knife. Repeat with all the letters.
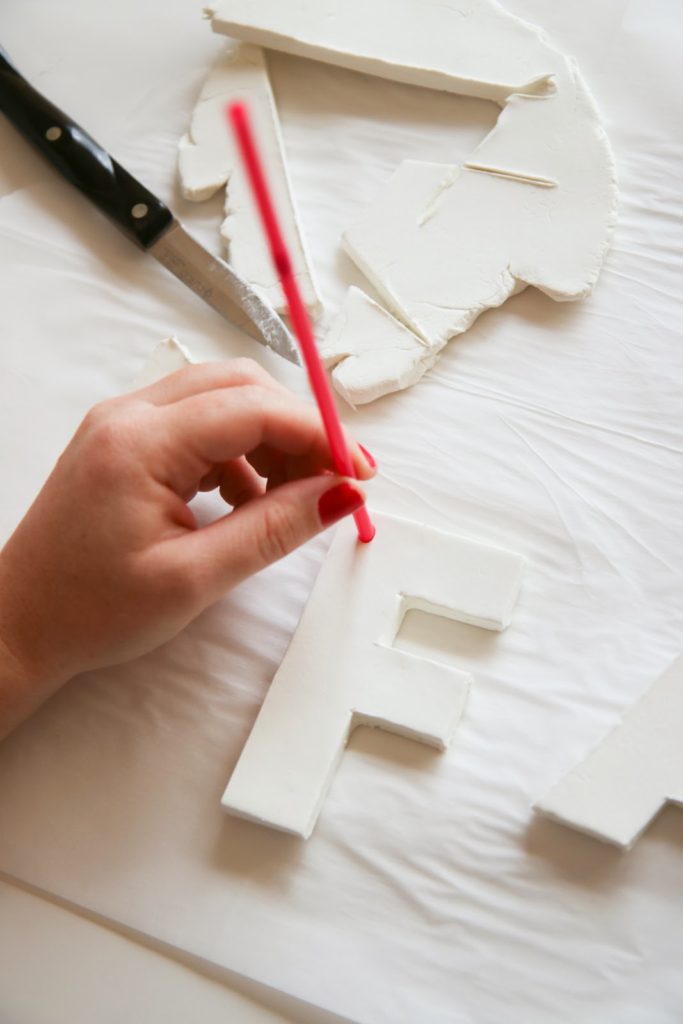
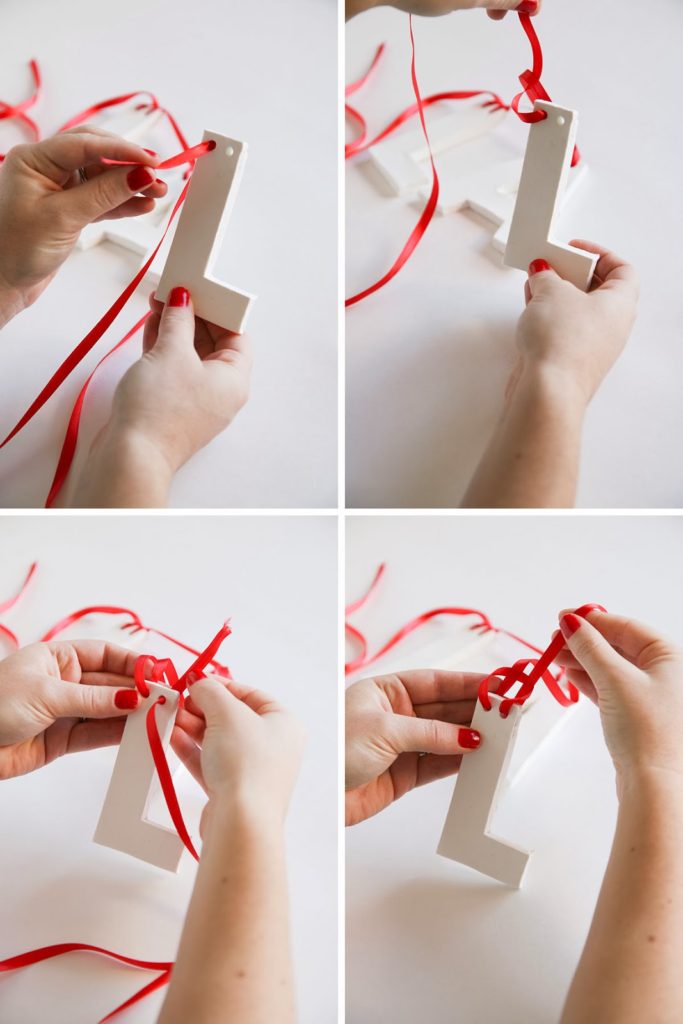
STEP 3: Next punch two holes on the top of each letter with the straw. Let dry on a flat surface overnight.


I hung our garland up using these hooks. Oh and don’t forget to turn on some Christmas music while you make this!
Original article and pictures take www.apairofpears.com site
Комментариев нет:
Отправить комментарий