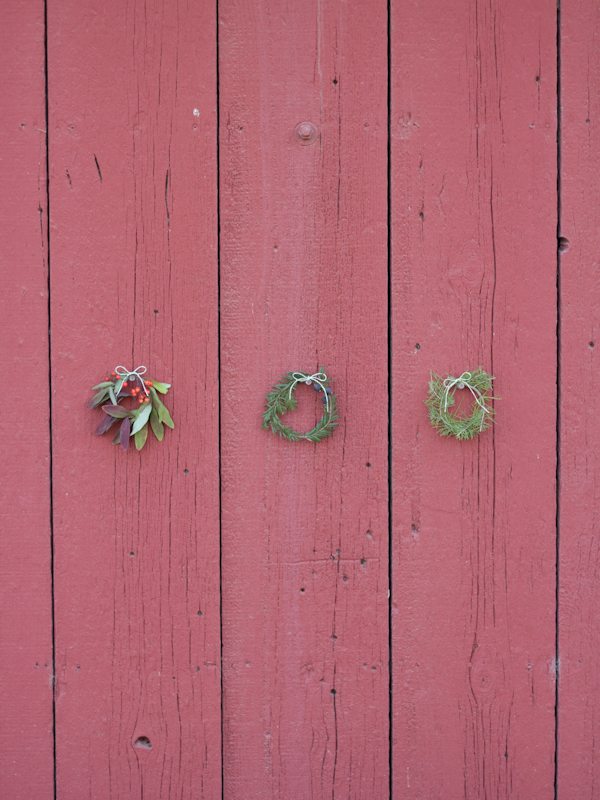
In case you can’t already tell, I’m into tiny things right now. I’ve also been trying to think of projects that are simple and cost-effective for the holidays. Sometimes with all of the excess of shopping and sales and the holiday madness, I enjoy keeping things small but beautiful on the DIY front. These little mini holiday wreaths are almost free and can be used to dress up your holiday table, mantle, or just a lonely doorknob. With a little creativity and an eye for useful pieces that you can probably find right in your backyard, you can whip these up in no time.
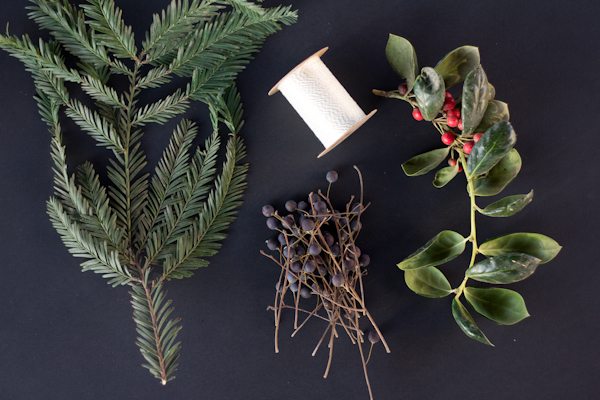

- scissors
- binder clips
- baker’s twine
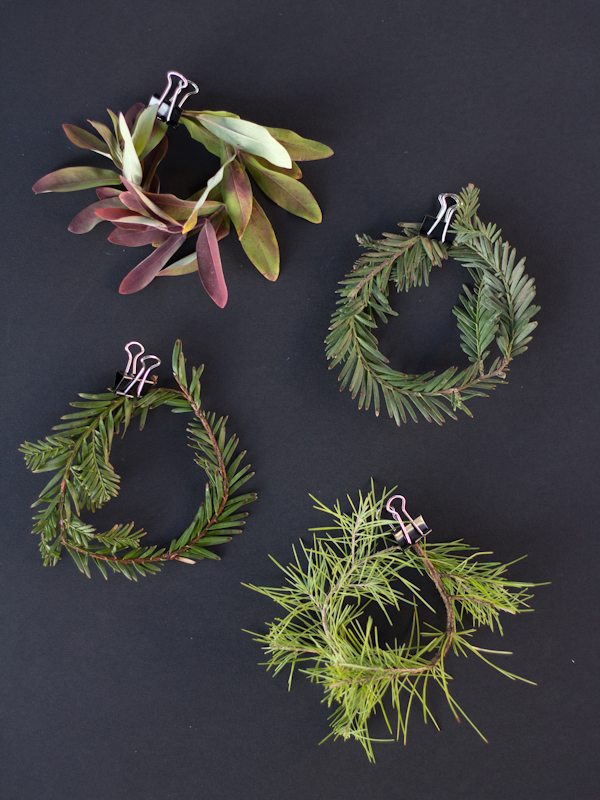
Start by gathering various types of greenery, twigs, and berries. The branches or twigs that work best should be somewhat thin and flexible. If your branches are dirty or a little stiff, soak them in warm water for a few minutes. Then wind them into a wreath shape and secure the ends together with a binder clip while they dry and take shape. My mini wreaths were 3-4″ in diameter.
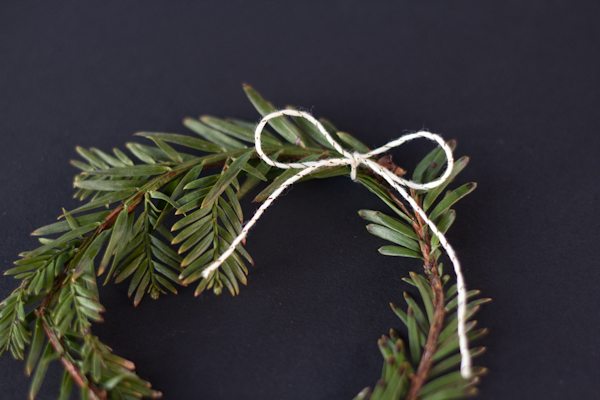
Once the greenery is dry, tie a short length of baker’s twine right at the spot where the binder clip is holding the wreath together. Remove the binder clip, being sure that the twine is tight enough to hold the greenery in place. Tie a small bow.
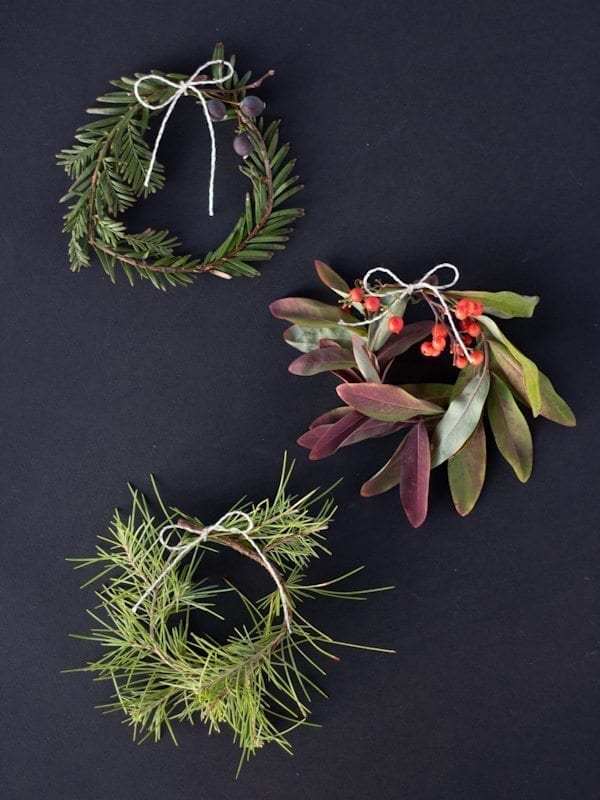
If your wreath needs a little something extra, insert some berries into the top of the wreath by sliding the stem through the knot in the baker’s twine. Adjust until the berries are situated to your preference. Finally, if your branches are a little wild, feel free to give your wreath a little haircut!
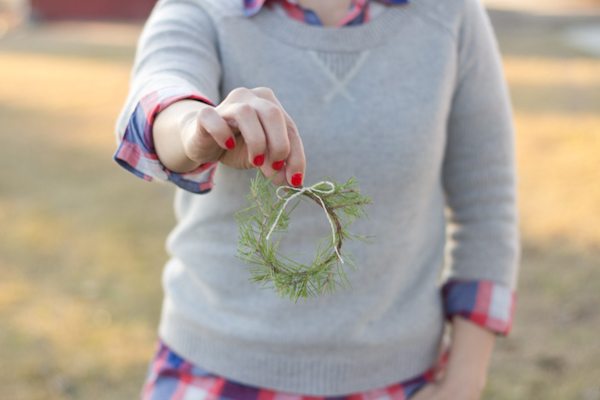
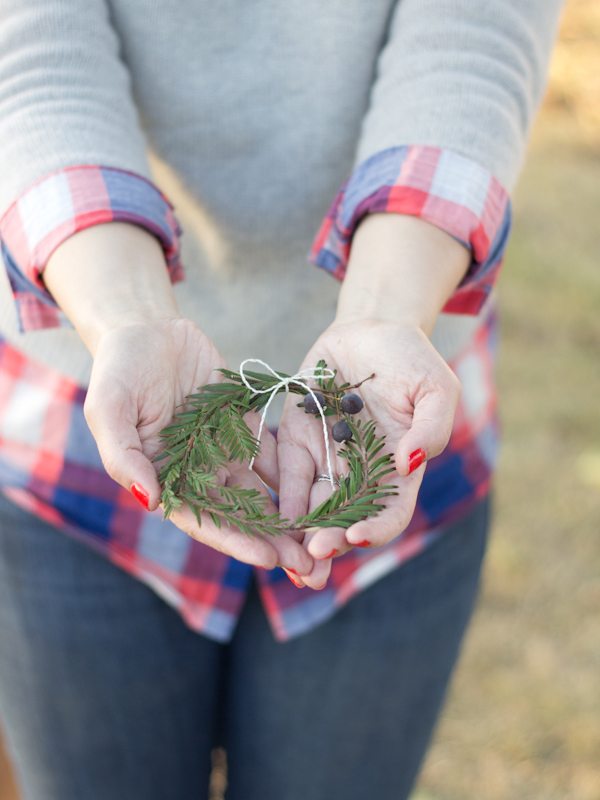

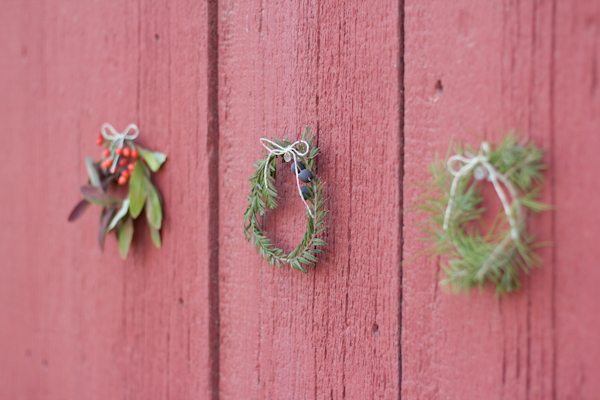
That’s all! I think these would be so sweet at a holiday place setting, or hung in a row all together. You could even string them onto a longer piece of twine and have a whole garland of mini wreaths! Tiny is good — happy holidays! xoxo
[Photos by Lovely Indeed for The Sweetest Occasion.]
Sources –
Gold baker’s twine – Kawaii Goodies
The fine print: Please link with love! As with all of our posts, DIY projects featured on The Sweetest Occasion may not be copied, distributed or reproduced without express written permission. Love and links are always appreciated! If you’d like to share this post, please link to this post directly for the DIY tutorial and do not include the instructions in your own post. Thanks so much! xoxo
Original article and pictures take thesweetestoccasion.com site
Комментариев нет:
Отправить комментарий