Aren’t vintage craft books the best? Some of the projects can be a bit outdated but you can find some real gems as well! This garland was inspired by Christmas tree decorations in an old Girl Scout craft book that I was thrilled to get my hands on. They’re so easy to whip up and you likely already have all the supplies.
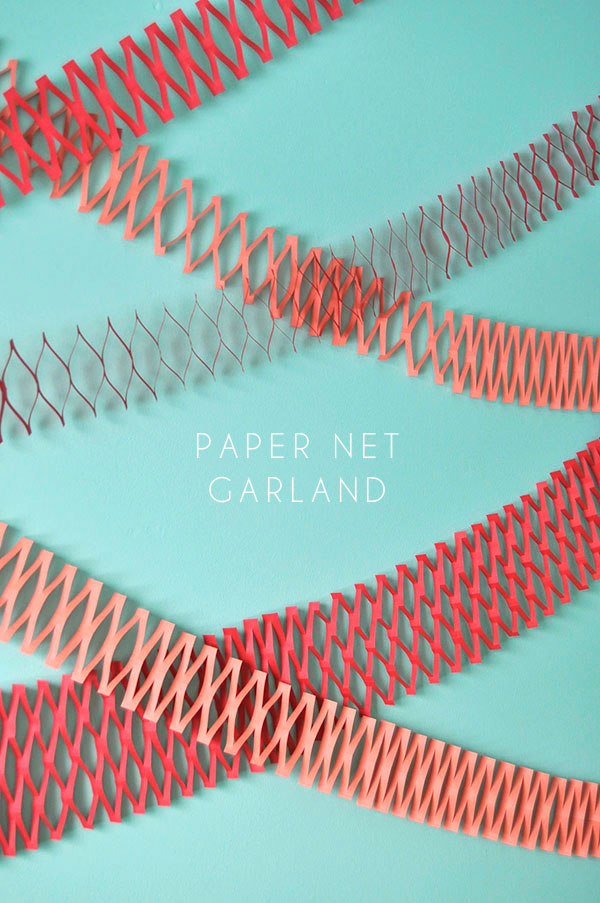


Step 1: Cut your paper into a narrow strip – ours was 3 1/2″ by 12″ but you can play around with different widths.
Step 2: Fold the paper in half lengthwise – a bone folder will help you get a nice clean fold.
Step 3: Use your scissors to make cuts 1/2″ apart on alternating edges of the paper leaving 1/2″ of the width uncut.
Step 4: Continue this process for the entire length. When done, gently unfold the paper and carefully flatten the centre crease.
Step 5: Repeat this process as many times as you like! To make a longer garland, simply use a glue stick to attach the ends of two garlands together.
Step 6: For a wider version of this garland, cut a piece of paper 6″ by 12″. Fold the paper in half lengthwise and then in half lengthwise again.
Step 7: As before, make snips 1/2″ apart and repeat for the entire length.
Step 8: Gently unfold and flatten the garland in the same way. Use small pieces of washi tape to attach the ends of the garland to your walls.


Original article and pictures take ohhappyday.com site
Комментариев нет:
Отправить комментарий