


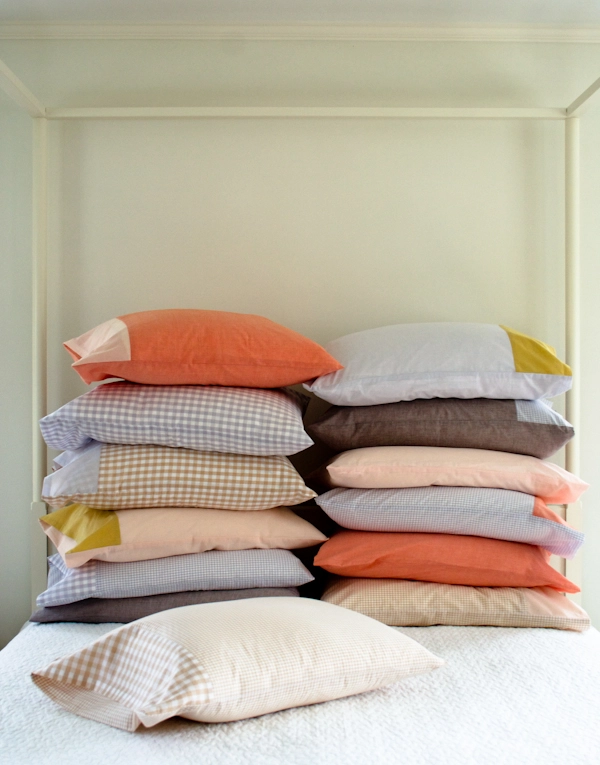
The first machine-sewing project I ever attempted was a pillowcase. The seams were a bit wonky and the hems were slightly uneven, but when I turned the whole thing right side out and slipped it on the pillow, you know what? It worked! Even with all its imperfections, it looked great, and so began my love affair with the humble pillowcase… and with sewing.

Since then, pillowcases have been my go-to project whenever I’m fond of a fabric, need a last minute gift (Mother’s Day!) or just want to spruce things up around the house. The seams are a bit straighter now and the hems are more precise, but no matter how many other projects I have under my belt, I come back to this simple and rewarding design time and time again.
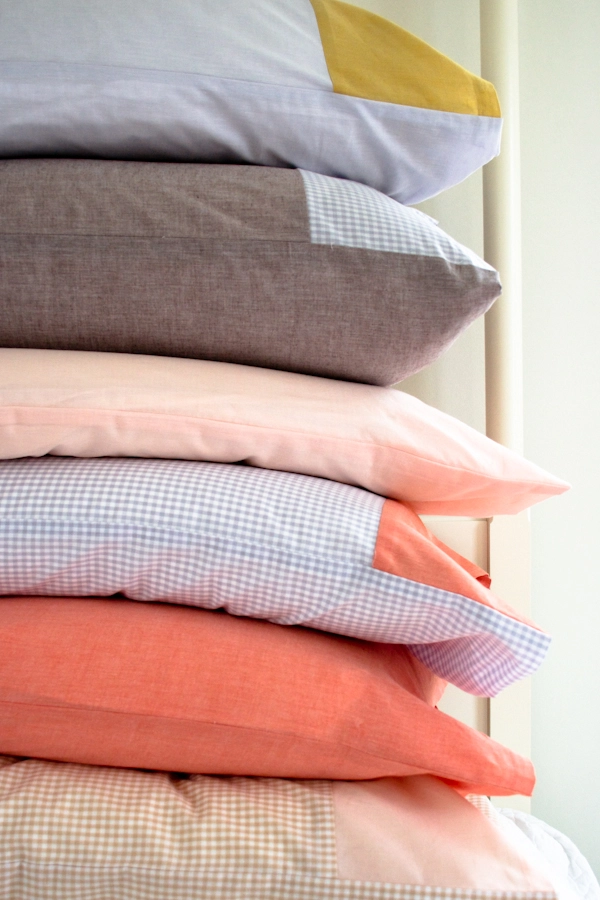
Sized for Standard, Queen, and King pillows, these really are Pillowcases for Every Bed. And although the pattern is so straight-forward that even a sewing novice can feel confident taking it on, the French seam details and envelope fold cuff add a challenge and polish that more experienced sewists will appreciate.

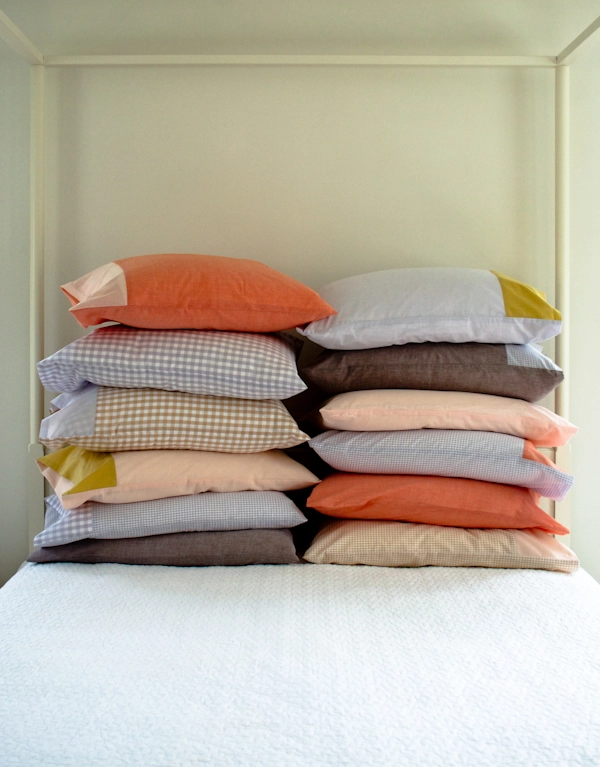
With two styles (one plain, one with a contrast edging) and ten colorful fabrics, I had so much fun mixing and matching the cases for this giant pile of pillows. So, choose a few favorite fabrics and spend an hour to make a pair for yourself, or an afternoon to refit every bed in the house, or a weekend to make a set for everyone you know. I’m not kidding. They’re that easy and that addictive! – Corinne
Materials
To make two Solid Pillowcases:
- For Standard (20 by 26 inches) or Queen (20 by 30 inches) pillows: 2 yards of a light to mid-weight cotton fabric
- For King (20 by 36 inches) pillows: 2 ¼ yards of fabric

- Kiyohara Fabrics Fine Solids in Grey
To make two Edged Pillowcases you will need ¼ yard of a Contrasting Color, in addition to the materials listed above.
Sizes
Standard Pillowcase: 19 by 27 ½ inches
Queen Pillowcase: 19 by 31 ½ inches
King Pillowcase: 19 by 37 ½ inches
Notes
Prewash all fabrics before starting.
The fabrics used here have no clear right or wrong side. If you are working with these or similar fabrics, you may choose either side as the right side for the first hem, but be sure to follow this precedent for all subsequent steps.
Edged Pillowcase Pattern
Cut

Note: When cutting simple rectangular shapes for patterns such as this, straight, clean cuts are key. The best way to make these cuts is with a rotary cutter and a non-slip quilting ruler on a self-healing cutting mat. If you have limited experience using a rotary cutter, I recommend visiting our Rotary Cutting Tutorial.
Hem
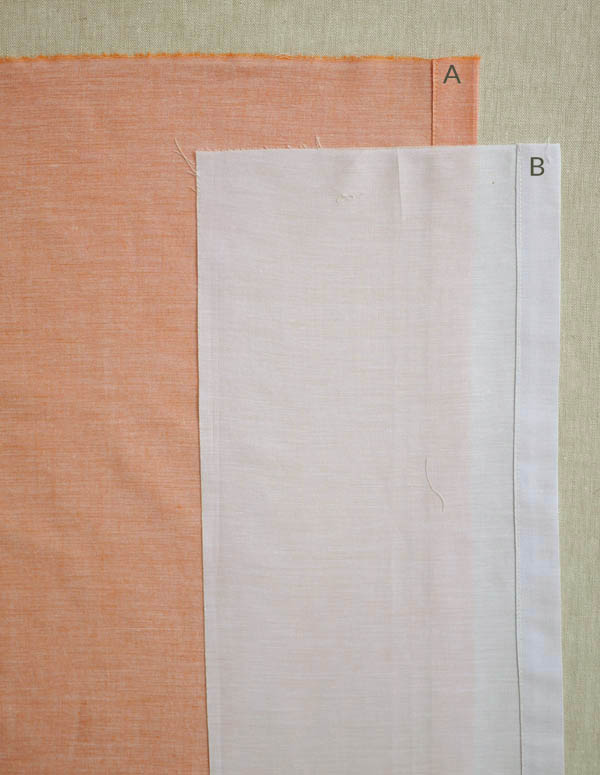
Fold one short side of one of the Main Color rectangles ¼ inch towards the wrong side and press. Fold this same edge ½ inch towards the wrong side again, press and pin. Sew the hem down with an edgestitch. This is Hemmed Side A.
Fold one long side of one of the Contrasting Color rectangles ¼ inch towards the wrong side and press. Fold this same edge ½ inch towards the wrong side again, press and pin. Sew the hem down with an edgestitch. This is Hemmed Side B.
Piece
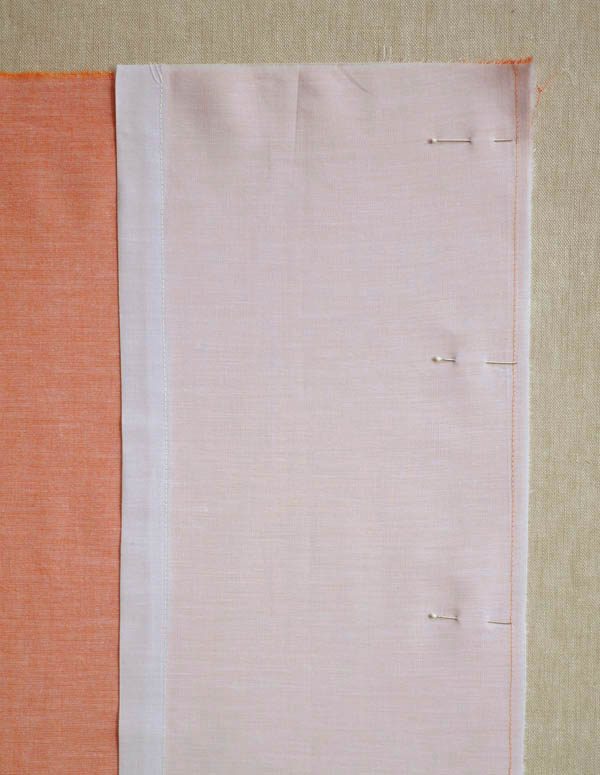
With the right side facing up, line up the long raw edge of the Contrasting Color rectangle with the short raw edge of the Main Color rectangle (the wrong sides of the two pieces will be facing each other). Pin in place along this edge. Sew along the pinned edge with a ¼-inch seam allowance.

Sew along the pinned edge with a ½-inch seam allowance.

Sew Sides
Lay the prepared fabric flat with the wrong side facing up.

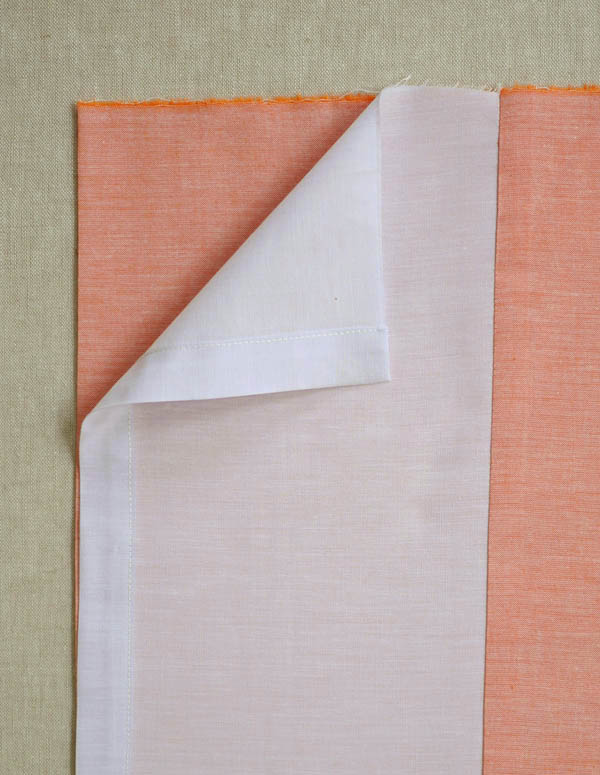

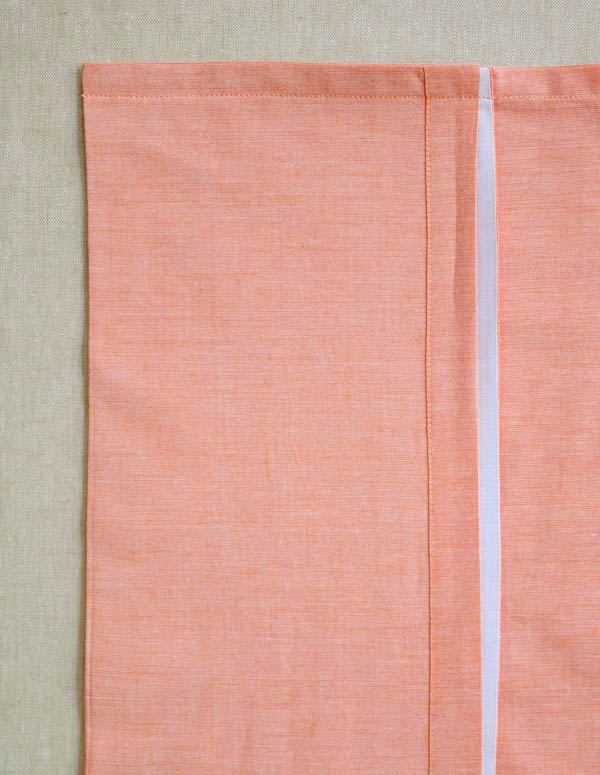
Press the long side seams flat and pin.
Sew along the pinned edges with a ½-inch seam allowance.

Repeat with the other two rectangles for the matching case.
Solid Pillowcase Pattern
Cut
Cut two 21 by 64 (21 by 72, 21 by 80)–inch rectangles.
Hem
Fold one short side of one of the rectangles ¼ inch towards the wrong side and press. Fold this same edge ½ inch towards the wrong side again, press and pin. Sew the hem down with an edgestitch.
Repeat with the other short side.
Now work as for the Edged Pillowcase Pattern (above), from the Sew Sides section to the end of the pattern.
Similar Posts You Might Enjoy:
Double Gauze Swaddling Blankets
Original article and pictures take www.purlsoho.com site
Комментариев нет:
Отправить комментарий