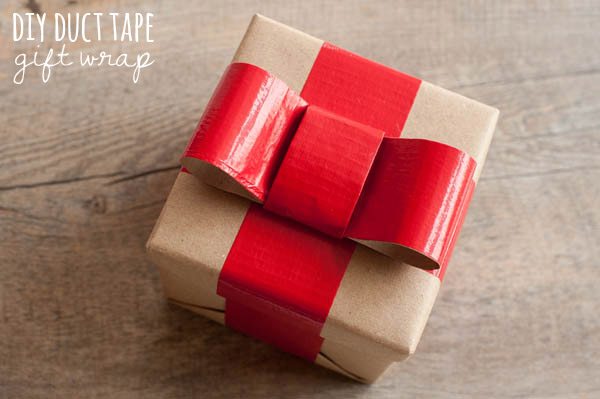
If you’re anything like me, there’s a good chance that perfectly wrapped gifts just make you smile. Every year about this time I start thinking about pretty gift wrapping, ribbons, tags and bows. (Quite obsessively, if we’re being totally honest here.) Recently, I was playing around with some red duct tape that I picked up at a local craft shop for $1 a roll and came up with this cute and funky twist on the classic big red bow. What I love about this is how simple and inexpensive it is, while still giving your packages a totally chic holiday look!
Supplies –
- Kraft paper
- Tape
- Duct tape
- Scissors
- Hot glue
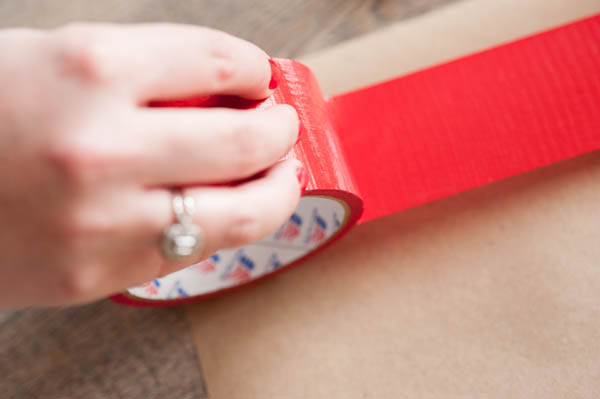
The first step is to wrap your package with kraft paper or another paper of your choice. You can find kraft paper everywhere this time of year, cropping up alongside shipping supplies in most big box stores. You can also regularly find it in paint supply departments, too. Next up, run two pieces of your duct tape criss cross along your package, akin to how you would tie on a ribbon. Then it’s time to make duct tape ribbon! Yup, duct tape ribbon.
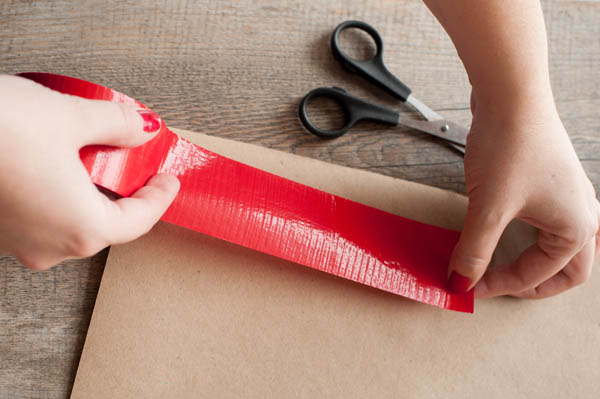
Run a long length of duct tape and adhere it firmly to a piece of kraft paper. Apply pressure as you go to make sure the tape holds firm to the paper. We’re going to use this to create the bow by essentially taking the tape and turning it into a kraft-backed ribbon.
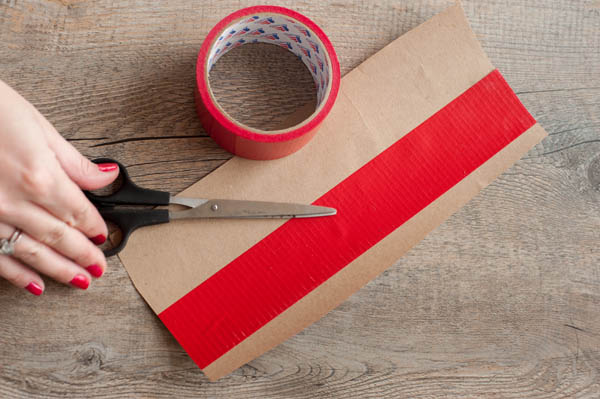
Once you have your tape attached to the kraft paper, make sure to smooth out any wrinkles or bubbles so the entire surface of your tape is adhered to the paper.

Using your scissors, cut alongside the tape to form a long strip of the so-called duct tape ribbon. If any of the edges lift up while you’re cutting, smooth it back down to keep the kraft paper firmly adhered to your tape.
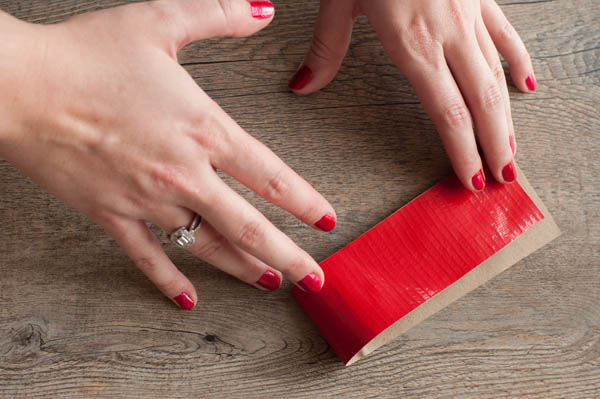
Next up, it’s bow time! Cut your duct tape ribbon to a length approximately two and a half times the width of your package. Then lightly fold it in half to make a small crease in the middle.
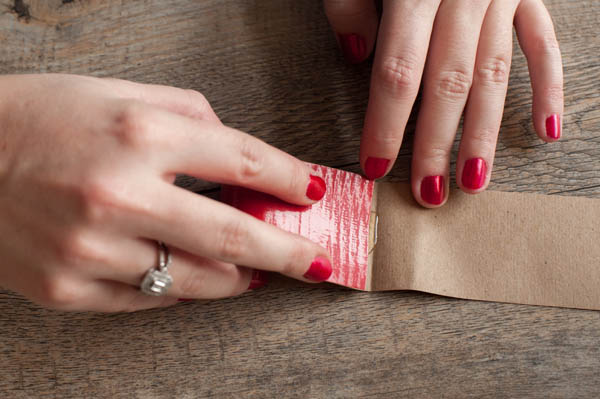
Put a good size dob of hot glue at the crease mark you just made on the underside of the duct tape ribbon. Fold in either side and attach just the edge very firmly to the hot glue.
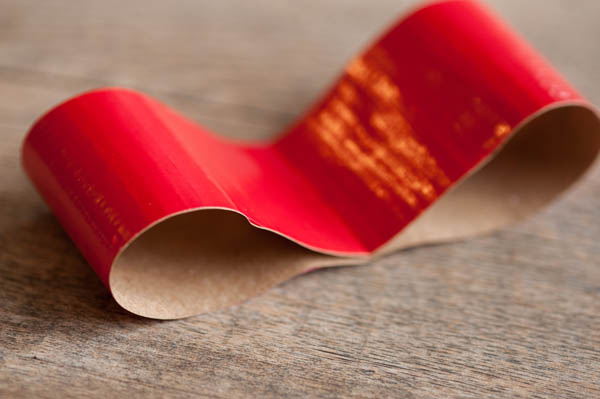
What you’ll be left with is the start of your big red bow! Let the glue set up and dry firmly. While the glue is cooling, take another strip of your duct tape ribbon and trim it to be about 2/3 it’s original width. This will form the middle section of the bow.
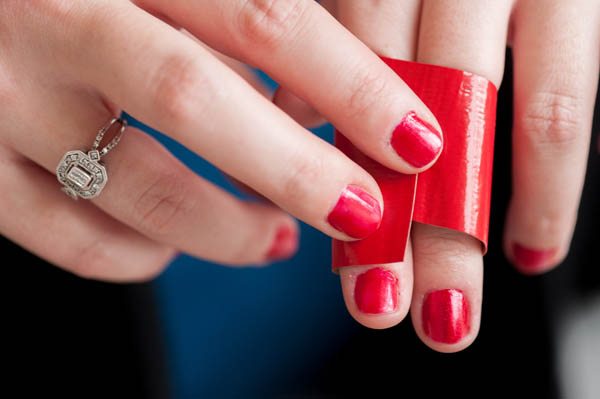
Trim the ribbon to length by wrapping it around the bow you’ve already formed and leaving a bit of extra length. I like to wrap it around my fingers to give it a bit of shape before attaching it to the bow. To attach, just wrap either side around the center of the bow and attach on the back with hot glue.

What you’ll be left with is an adorable big red bow that is perfect for topping off your package. Center it along the top of your package, attach with another glob of hot glue and you’re good to go!

{Design + styling by Cyd Converse for The Sweetest Occasion. | Photos by Alice G. Patterson.}
The fine print: Please link with love! As with all of our posts, DIY projects featured on The Sweetest Occasion may not be copied, distributed or reproduced without express written permission. Love and links are always appreciated! If you’d like to share this post, please link to this post directly for the DIY tutorial and do not include the instructions in your own post. Thanks so much! xoxo
Original article and pictures take thesweetestoccasion.com site
Комментариев нет:
Отправить комментарий