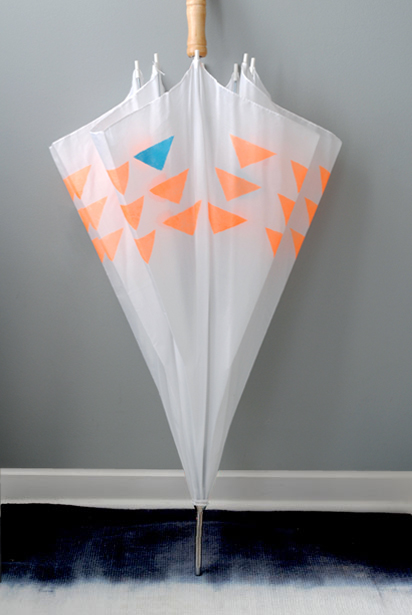

While I do love splattered paint, a neon geometric print is pretty spectacular. This week in MakeKind, I’m back sprucing up another plain umbrella with the help of some hand cut stencils and a little water proof paint. Here’s how…
MATERIALS // label stock (I used 4.25″ x 5.5″ sheets of Avery label stock), utility knife, ruler, cutting mat, waterproof paint, stencil sponge, umbrella

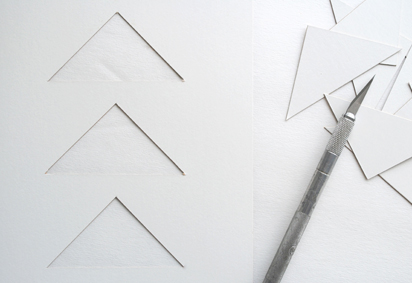
STEPS // 01 CREATE YOUR STENCILS Determine your desired stencil pattern and draw onto a piece of label stock (be sure to leave extra space around art to avoid paint from splattering onto umbrella). Then, cut out stencil using utility knife. The total number of stencils needed will vary depending on the size of your umbrella and pattern. I created 8 stencils, using each stencil 3 times before discarding.


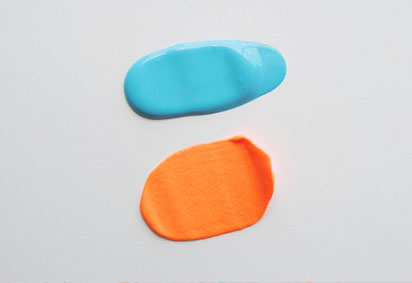
02 // PAINT YOUR UMBRELLA Open your umbrella and rest on it’s handle. Place stencil on umbrella in desired location, gently rub into place. Pour a dollop of paint onto an old plate and dip stencil sponge into paint. Next, apply paint through stencil using a light stipple effect.

Work your way around the umbrella, painting one panel at a time. Once all panels are painted, set aside to dry overnight before using.

The more umbrellas the merrier right? Why not make a few extras to share with family and friends!
[photos by Christine for Design For Mankind]
Original article and pictures take www.designformankind.com site
Комментариев нет:
Отправить комментарий